Removing and fitting a front loader is easy, provided you know the correct procedure. Here we have tips on how to do just that with Stoll and Quicke loaders.
KEEPING IT BRIEF
- Park on level ground, preferably a hard surface, so the parking stands do not sink into the ground and the boom remains horizontal.
- An attachment with a flat bottom, ideally a bucket, should be attached to the loader.
- The contact surfaces should always be free of rust, dirt and paint.
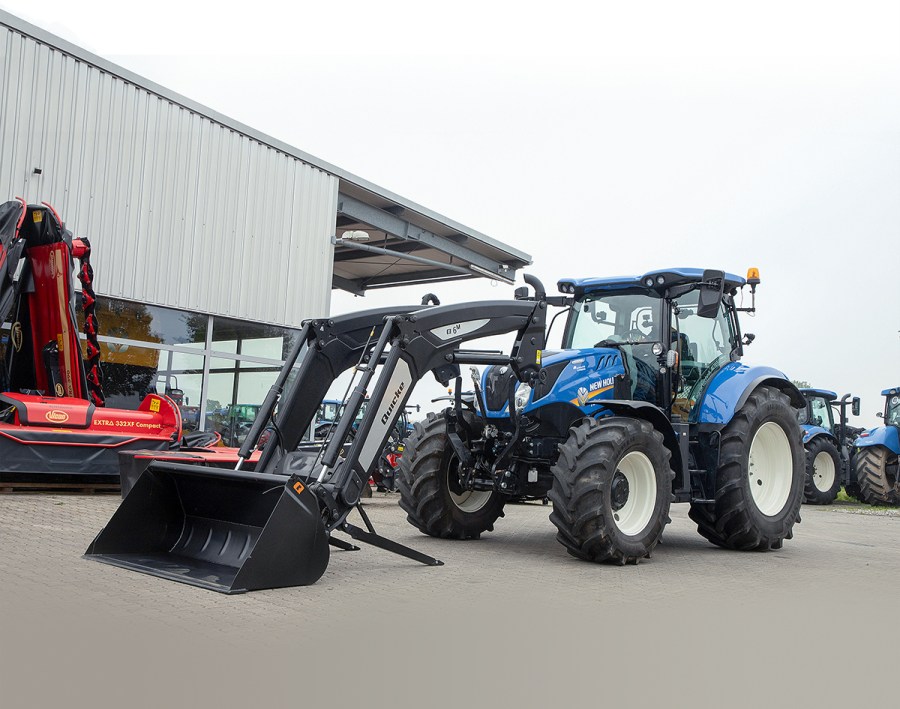
Some loaders spend most of their active lives attached to the tractors, whereas others are removed several times a week. If you don’t need the loader, then you may as well remove it, as you’ll enjoy a much better view, reduce the tractor weight and ultimately wear on the front axle and also on the loader itself. After all, this is why loader makers have put so much effort into making fitting and removal a relative doddle.
We spoke to Heinz-Georg Meyers from Stoll and to Sönke Lohse from Quicke and asked them to demonstrate how their respective front loader coupling systems are properly attached and removed. So we could, in turn, provide you with this handy step-by-step guide.
Legal requirements
Since the end of the 1990s, manufacturers have had to comply with the DIN EN 12525 safety standard in the design of their front loaders. This includes, for example, that the stands must lock home firmly and that they must not be held by a clamping device when extended. It also requires that the parked loader must withstand an external force of at least an additional 400N, which equates to approximately 40kg.
On top of this, the manufacturers state that for stability an implement/bucket with a flat bottom must be attached when removing the loader from the tractor. Furthermore, a front loader must always be parked on level, paved ground. This not only prevents the stands from sinking in, but also makes the attachment and removal jobs much easier.
Two coupling systems
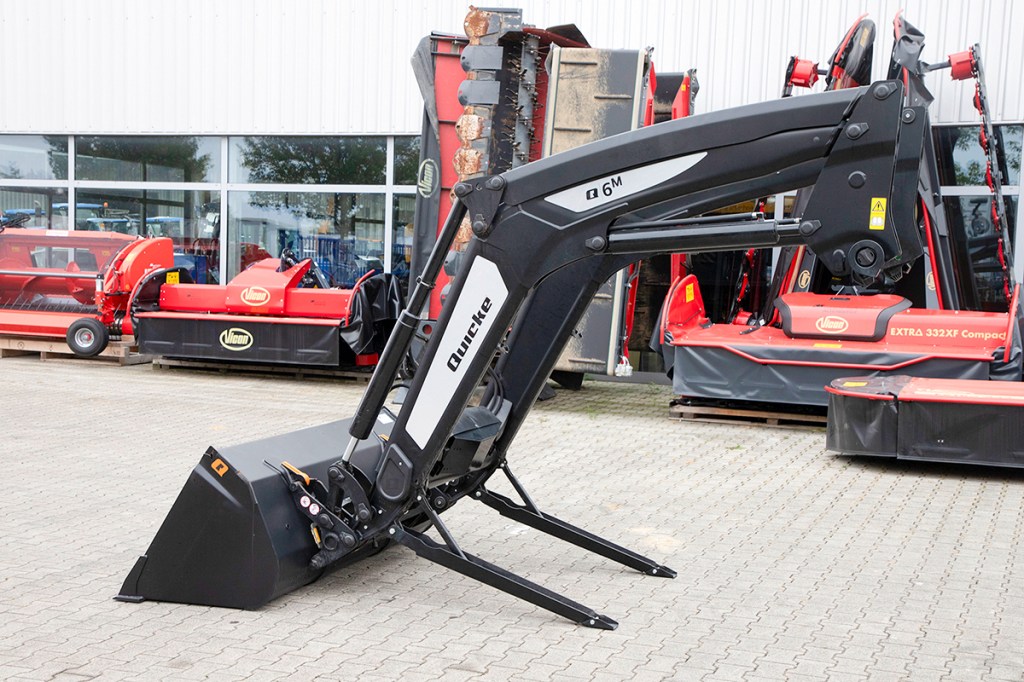
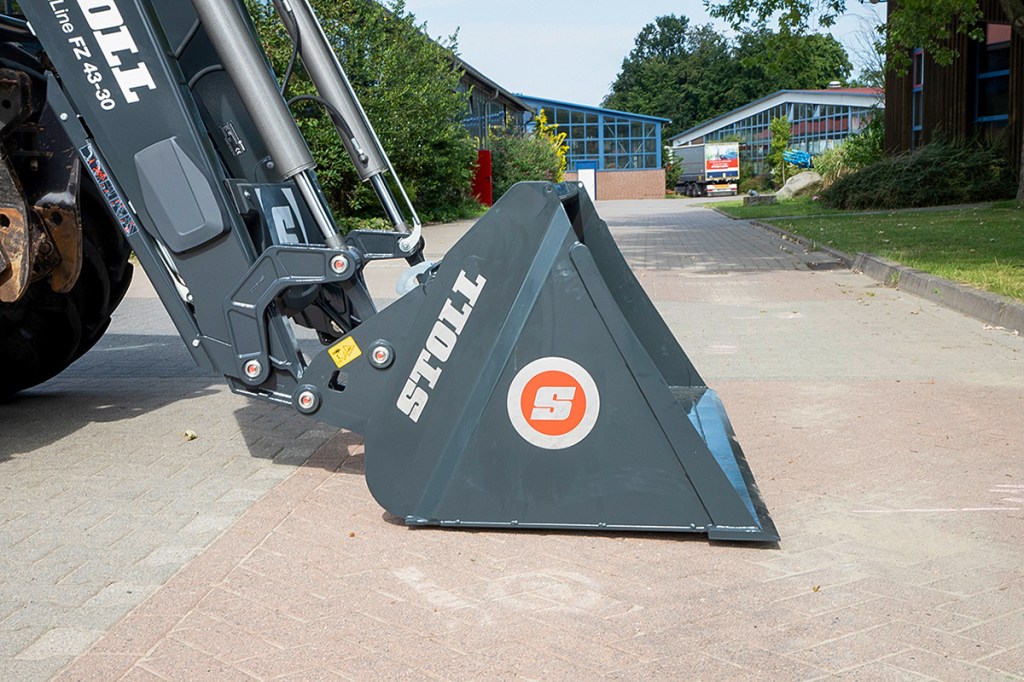
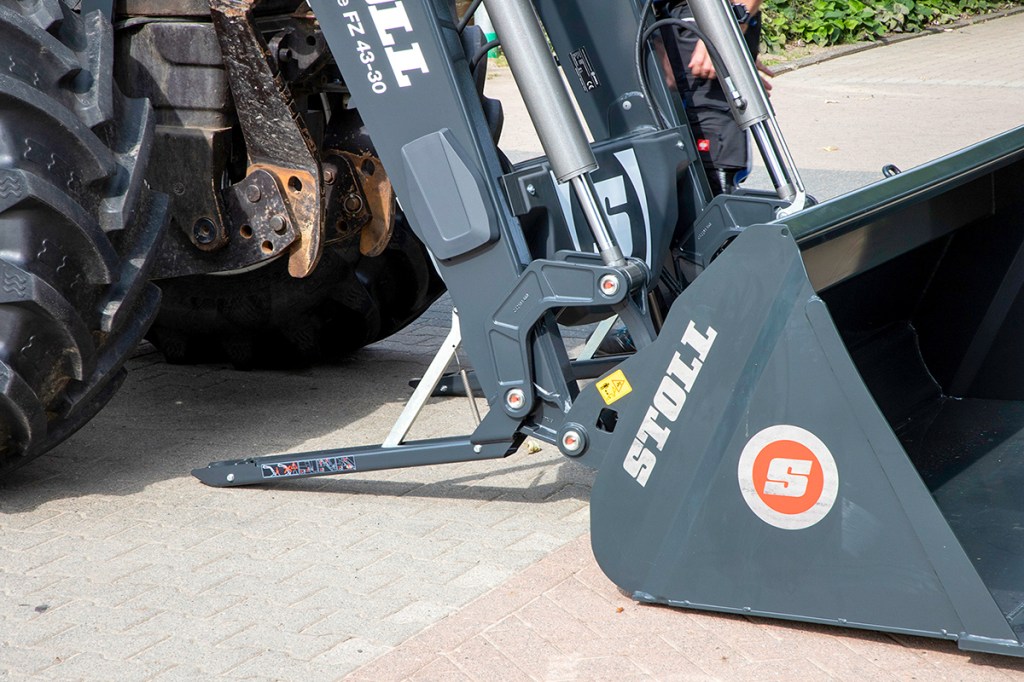
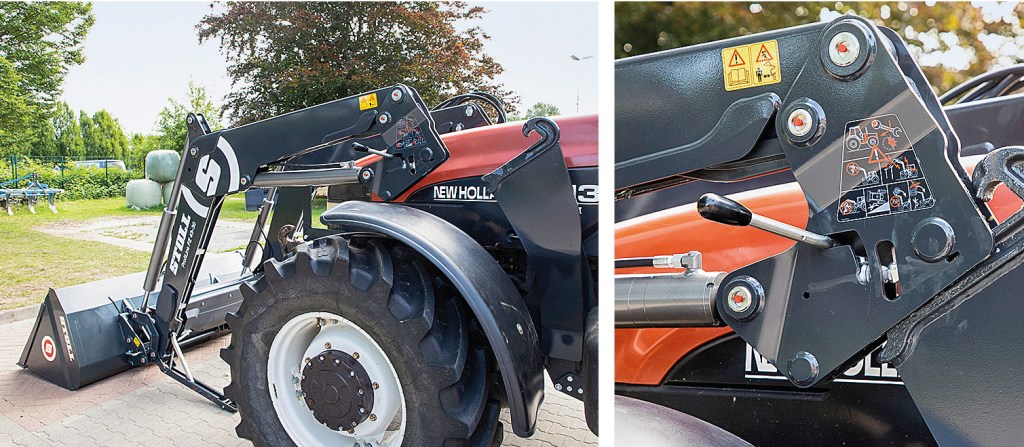
We look at the ProfiLine FZ43-30 from Stoll and the Q6M with Lock & Go locking from Quicke. The Stoll loader has a double locking system.

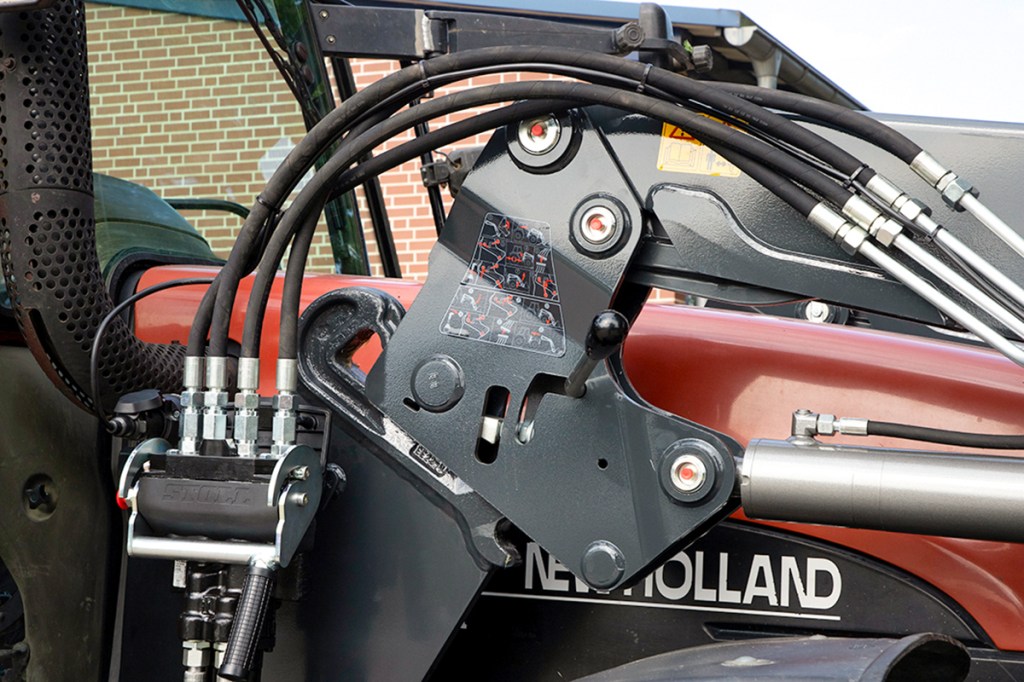
Attachment and removal depends on the type of coupling system present. The contact elements on the Stoll coupling frame are arranged horizontally, which makes the overall design of the bracket a bit wider. It also tends to make attachment/removal somewhat easier, because it’s not necessary to tilt the bucket before you can place the coupling frames into the mounting cups on the brackets (more on this on the following pages).
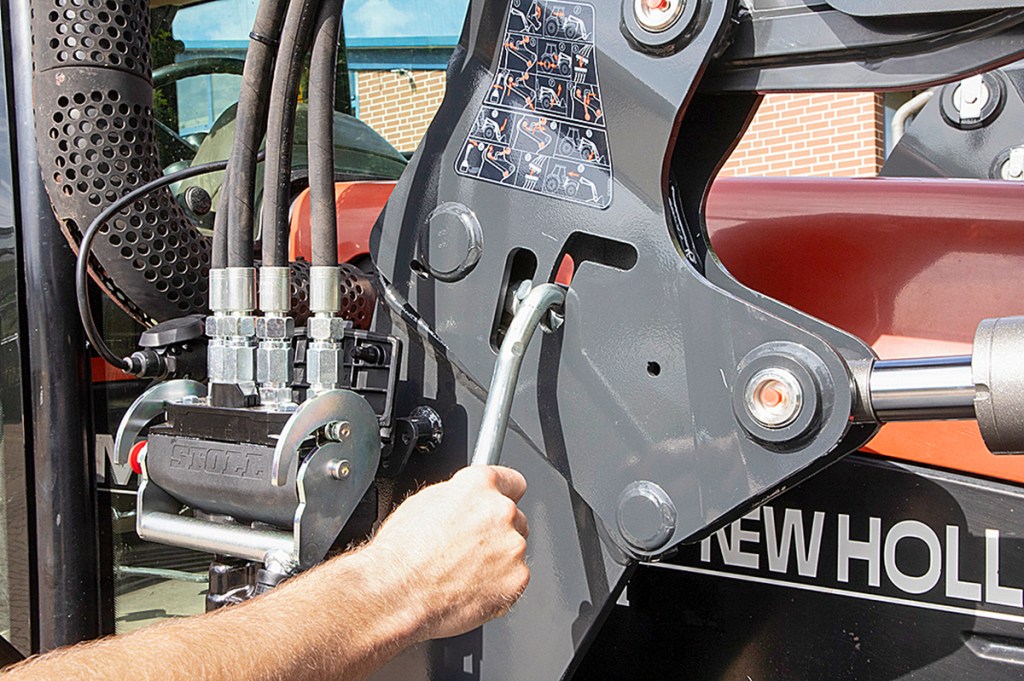
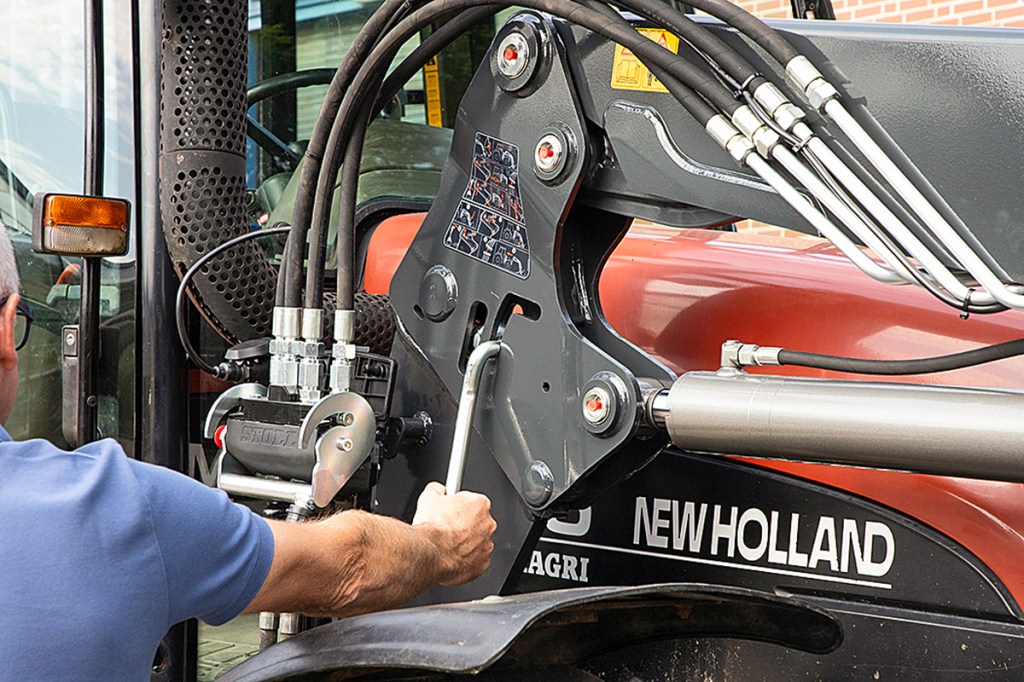
Instead, the tractor drives into the brackets until the rear shaft nestles in the coupling frames (which are the matching parts on the booms that connect to the brackets) and contacts the backs of the forward-opening hooks. The front shaft rests in a mounting cup. The combination is then secured by a locking wedge, which is pushed under the rear shaft by operating a lever. This prevents the coupling frames from working loose. You can adjust it to ensure a tight fit. If the loader hasn’t been used for a while, it might be worth cleaning the angled contact faces and applying a little grease and oil to the locking mechanism for smoother attachment as you drive into the loader. This prevents the mechanism from jamming.
Vertical system
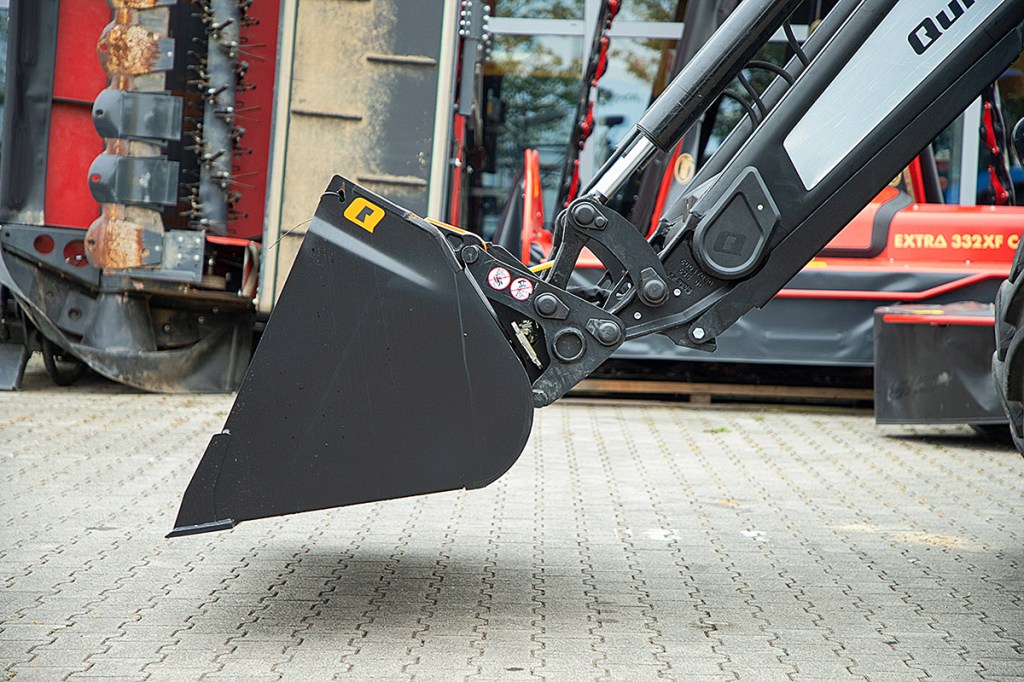
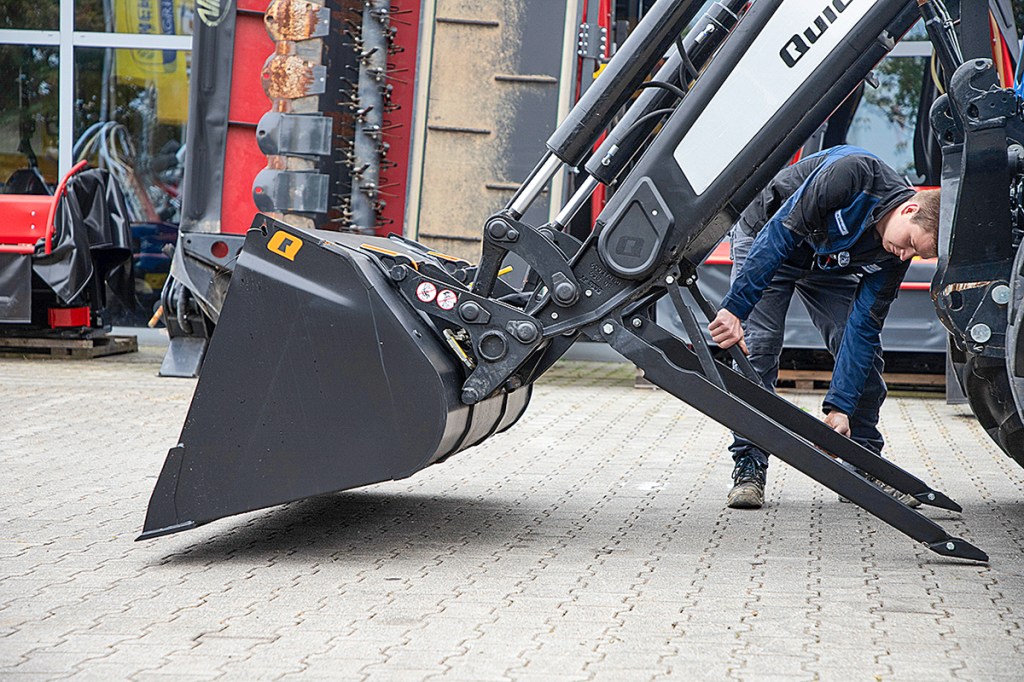
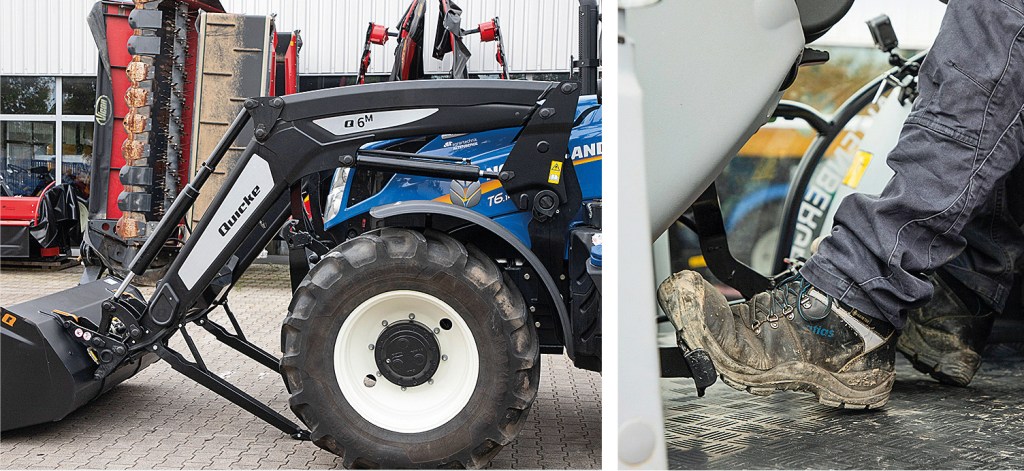
Quicke has a vertical coupling system. Here, the two main contact points are arranged more or less vertically to each other. This design makes the brackets relatively narrow. Like Stoll, most of the load is carried by a shaft that runs between the two coupling frames and lowers into the mounting cups on top of the brackets.
Further down, there is an angular plate that sits on the front of the bracket in a recess for centring. On the sides, the position is centred by a tapering gap between the two parts of the coupling frame. The loader is secured by the ‘Lock & Go’ pins that lock into place automatically during attachment.
According to the manufacturer, the vertical system is virtually maintenance-free. Yet, you should make sure the contact faces are clean and free of traces of paint and rust.
Summary
If you follow these steps properly, attaching and removing the front loader is no problem. It is important that the locking mechanisms are in place and that the loader is parked on tarmac ground with a bucket attached. Make sure that the stands are straight and engage correctly.
FRONT LOADER REMOVAL
1 ALIGN
Stoll: Attachment is level
Quicke: Attachment slightly tipped
2 FOLD OUT THE STANDS
Stoll: Place stands on the ground
Quicke: Level with the bucket edge
3 RELEASE THE LOCKING MECHANISM
Stoll: Locking with a lever
Quicke: Lock & Go … or pin
4 Lowering
Stoll: Lift rams only
Quicke: Lift rams, then crowd
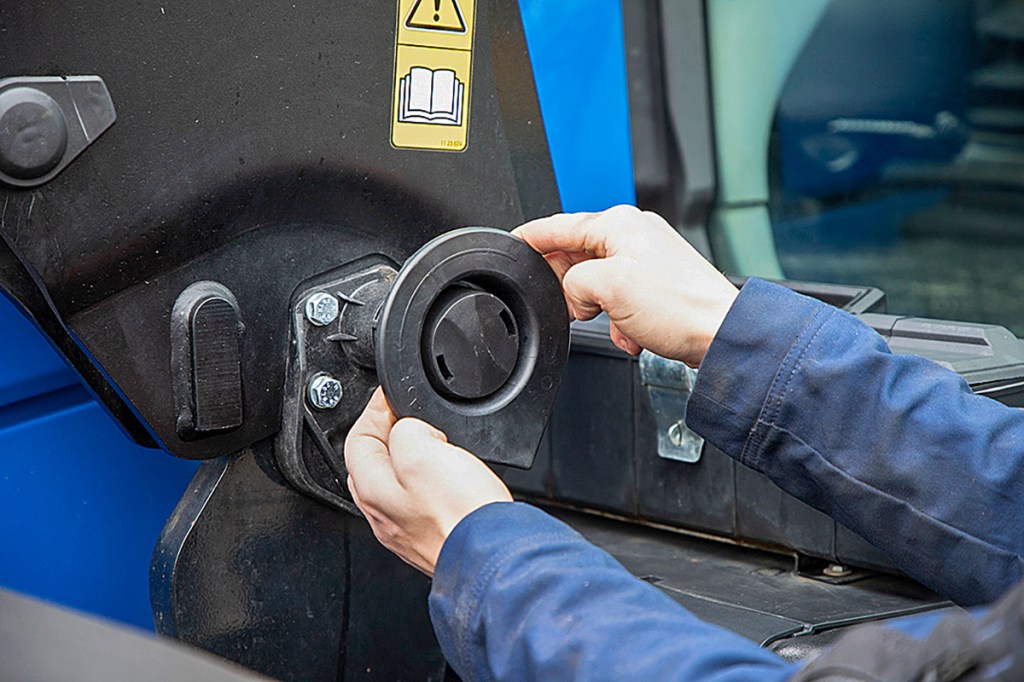
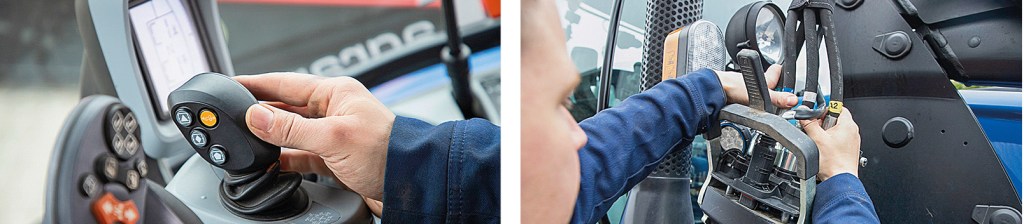
5 Uncoupling the oil supply lines
Stoll/Quicke: First depressurise, then uncouple
FRONT LOADER ATTACHMENT
1 Drive up to the loader and connect the lines
Stoll: Slide the coupling frames into the booms
Quicke: Dump, then lift
2 Lock and check
Stoll: Press the lever down
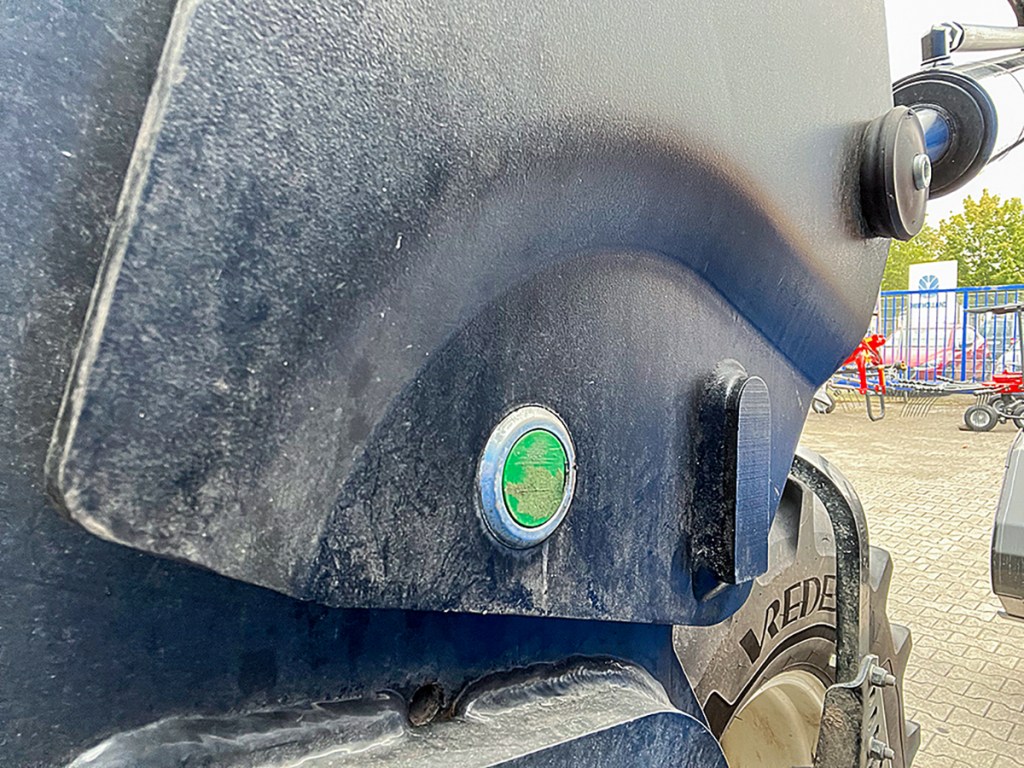
Quicke: Green indicator
Alexander Bertling
For more up-to-date farming news click here and subscribe now to profi and save.